[MQL] ミリ秒ごとに処理を行う方法|EventMillisecondTimer()の使用例
MQLでミリ秒間隔で処理を実行する方法を説明します。
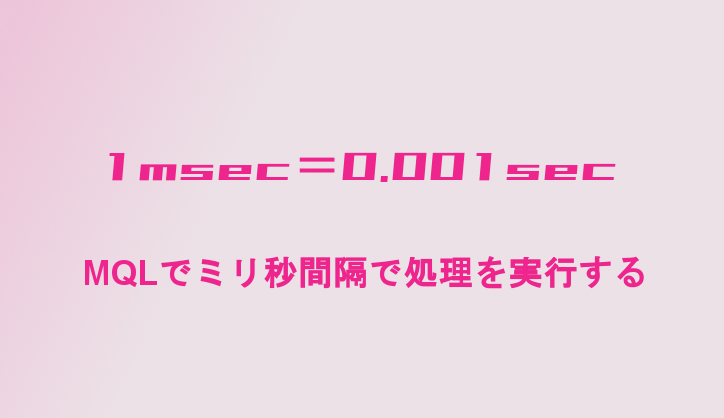
1秒よりも短い間隔で処理したい
一定時間ごとに処理を行うにはOnTimer()を使います。一般的なMQLのプログラムでは、OnTimer()の前にEventSetTimer()を宣言することで処理間隔を指定します。
しかしEventSetTimer()で刻める最小間隔は1秒のため、もっと短い間隔で処理を行いたい場合には困ってしまいます。
そんな場合にはEventSetTimer()ではなくEventMillisecondTimer()を使うことで、処理間隔をミリ秒で指定できます。
EventMillisecondTimer()関数の定義は下のとおり。
bool  EventSetMillisecondTimer(
  int  milliseconds  //タイマー間隔をミリ秒単位で指定
);
使い方はEventSetTimer()と全く同じですので割愛。
10ミリ秒ごとに処理するサンプルインジ
EventMillisecondTimer()関数を使って、10ミリ秒ごとに数字をカウントアップするサンプルインジを作りました。
↑カウントアップする様子の動画(25秒)です。ミリ秒間隔で処理を行うことでこのようなスピード感のあるインジを作ることもできます。
このインジのコードは以下の通りです。
//+------------------------------------------------------------------+
//|                                     event_by_millisec_sample.mq4 |
//|                                                     minagachi FX |
//|                                            https://minagachi.com |
//+------------------------------------------------------------------+
#property copyright "minagachi FX"
#property link      "https://minagachi.com"
#property version   "1.00"
#property strict
#property indicator_chart_window
//+------------------------------------------------------------------+
//| Custom indicator initialization function                         |
//+------------------------------------------------------------------+
int OnInit(){

   //数字ラベル作成
   ObjectCreate(0, "num", OBJ_LABEL, 0, 0, 0);
   ObjectSetInteger(0, "num", OBJPROP_FONTSIZE, 100);

   //タイマー間隔をセット
   EventSetMillisecondTimer(10); //10ミリ秒

   return(INIT_SUCCEEDED);
}
//+------------------------------------------------------------------+
//| Custom indicator termination function                            |
//+------------------------------------------------------------------+
void OnDeinit(const int reason){
   //タイマーを無効化
   EventKillTimer();
}
//+------------------------------------------------------------------+
//| Custom indicator iteration function                              |
//+------------------------------------------------------------------+
int OnCalculate(const int rates_total,
                const int prev_calculated,
                const datetime &time[],
                const double &open[],
                const double &high[],
                const double &low[],
                const double &close[],
                const long &tick_volume[],
                const long &volume[],
                const int &spread[])
{
   //処理なし
   return(rates_total);
}
//+------------------------------------------------------------------+
//| Timer function                                                   |
//+------------------------------------------------------------------+
void OnTimer(){
   static int count = 0;

   //数字ラベルをカウントアップ
   count++;
   ObjectSetString(0, "num", OBJPROP_TEXT, (string)count);
}
簡単に処理の流れを説明すると、、、
- まず
OnInit()内でEventSetMillisecondTimer()を宣言しタイマー間隔をミリ秒で指定する。 - 続いて
OnTimer()内に実行したい処理を記述する。 - 最後に
OnDeinit()内でEventKillTimer()を宣言しタイマーを無効化する。
となります。
まとめ
この記事では、EventMillisecondTimer()関数を使ってミリ秒間隔で処理を行う方法を説明しました。
ただしこの関数を使うのは本当に必要な時だけにした方がよいと思います。
処理間隔を短くするとPCの負荷も上がりますし、やりすぎ感のあるスカしたインジになってしまいますので。。。
コメント
この記事へのコメント(0 件)